
.Vcenter installation was not so easy at the time that we wrote this page, but we keep old pages you may need for any reason for VMware vCenter Server 6 Quick Installation
The good news in VMware 6.X series products are vCenter 6, it’s really more friendly on installation.
In this guide I just used the minimum resources to test installation, you may need more.
Before starting check vCenter 6 quick embedded system requirement:
* Win 2012 R2 or Win 2008R2 on a physical or virtual machine
* Minimum 8GB memory for OS(Note: some services may not start automatically on server restart if use minimum RAM)
*Recommend 10GB memory.
*2 core CPU (vCore or real core)
* FQDN on the machine should be pinged on the local network before starting the installation
*Create reverse DNS o your DNS server for IP that is used on the vCenter machine.
Using fresh OS without any extra application or program recommended.
Mount downloaded vCenter ISO and start installation:

1- Click the Install button

2- Click Next

3- Select I accept … and Next button

4- In the Select Deployment Type page because we are using minimum resources and it’s a quick installation select Embedded Deployment (for 1 vCenter installation in 1 machine). Click Next…

5- For System Network Name should use a name that has rDNS and pingable, we usually call this kind of hostname: FQDN, click Next…

6- For vCenter Single Sign-On configuration “SSO” because it was not installed before and is a first-time installation select “Create new vCenter single sign-on domain”
Note: keep this password/username secure, if you forgot you can’t log in and should install it again.

7- vCenter Server Service Account
Select: Use Windows Local System Account and for username add machine name\username for example if FQDN is support.day.ir and username is administrator add support\administrator

8- Database settings
Select Use an embedded database (vPostgres)

9- Configure ports
If this is a fresh OS usually you don’t need to change any port.

10- Destination Directory
You don’t need to change.

11- Ready to take off (installation) 🙂
Review settings before installation starts.

12- Installation Progress
In a normal system with the good performance, you may wait for about half an hour.

At the end of Setup Complete, before clicking Launce vSphere Web Client read this:
Note: You should add your license before 60 days
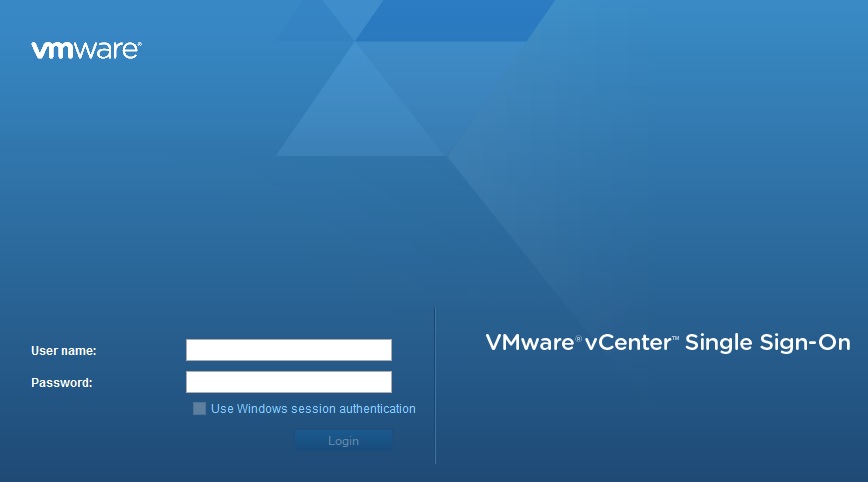
Note: For login should use user@domain like: administrator@vsphere.local
Note: You need to update the Adobe flash player in your browser
Using this contents and picture allowed, only if you link to this page
نظرات کاربران 1
Thanks... It was so helpful